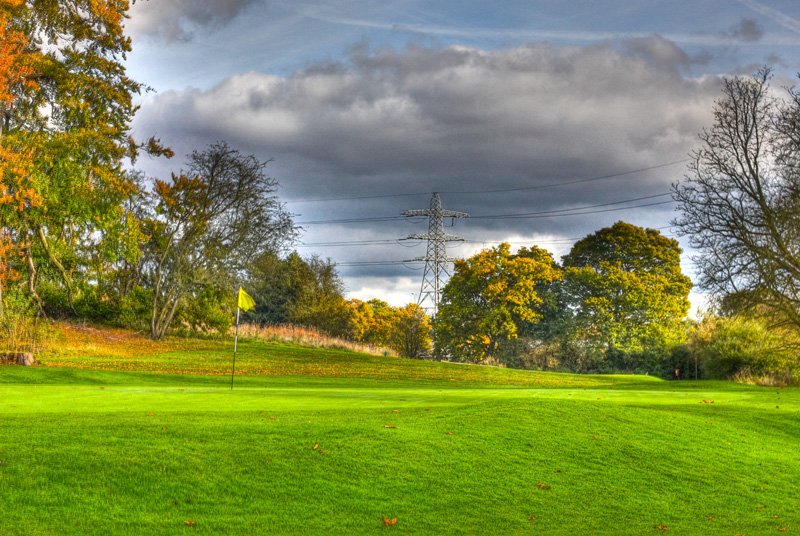
What is HDR photography?
HDR photography- high dynamic range. It is taking a minimum of 3 shots of underexposed, normal, and overexposed (-2EV, 0EV, +2EV) images and blending them with software like Photomatix, adobe photoshop, lightroom, easy hdr, or others. The best fits for nonmoving objects in the frame, it means most used in landscape photography. So, to make HDR images we need a digital camera and tripod. Tripod?- because we will make 3 same view images, we want to get sharp, not blurred, details in the final result. If you forgot or have not to take tripod use things around you, instead of it you can use a fence, chair, table, big stone and etc.
How to set up your DSLR for HDR photography?
Watch my tutorial online on youtube Canon DSLR set up for HDR photography
Hdr photography post-production
There are two ways of post-production making HDR image:
1. More painted HDR photography

2. More realistic HDR photography
Of course, which one to pick depends on you and your ideas. But I like the more painted version when it is a cloudy day, in this case, I can get dramatic sky very easily. When the sky is pure without clouds I’d better choose a more realistic version. Sometimes I like to try both versions, usually making HDR images with Photomatix, compare which is better looking, and finish edit usually in Adobe lightroom.
Raw or jpg?- I like shooting in Raw, because after I can change later white balance and other settings it is more flexible, most popular programs recognize and works with Raw.
The best effect we can get with a lot of pictures made by little exposure steps (as I said before minimum is three) 6 or more images to create the deep hdr effect with sharp clear seen details.
Choosing exposure steps and image count should depend on the difference in lighting zones and wanted effect.
Creating HDR effect from one image.
You can also create hdr photography from one picture in raw format using the software. It is called hdr imitation or pseudo hdr. Open primary file change exposure save files, create hdr. In this case, you don’t need a tripod that also can capture moving objects.
Do not beware experiment with the settings. First I discovered hdr photography, I always use the default presets in Photomatix, but after some time understood: there are more possibilities to create something new using manual adjustment. If you like created effect but don’t like just some details- fix it. Open your just created HDR image in photoshop and blend it with an original primary image with correct exposure, choose blending mode overlay, about 50% opacity. You can also correct just several details which do not fit.
Digital cameras taking one exposure at a time, but our eyes can see much more, so this technique of making HDR images can close up colors and light near human eyes see in reality.
List of the program to make HDR images you can find here
Good luck with HDR photography experiments and have a nice day.
